
AR MRTK: Paris Motor Show
In this project we will develop an AR application to the public Paris Motor Show.
Application objectives are as follow:
1. Collect car preferences from users
2. Help people navigate the showroom based on their preferences
3. Display additional information about the cars
4. Allow users to interact with cars
Following is the video of our Paris Motor Show,
Lets get started!
Go to Assets > Import Package > Custom Package and import (make sure all assets are selected) the MRTK/related packages that you have downloaded.
Selecting MRTK and project settings.
Normally after importing the packages from the previous part, MRTK Project Configurator pop up. If not we must do it manually. To do it manually, go to Mixed Reality Toolkit > Utilities > Configure Unity Project.
Now Go to Edit > Project Settings > Player > XR Settings & select Virtual Reality Supported. In the "Depth Format", lets select the 16-bit depth. Go to Mixed Reality Toolkit > Add to Scene and Configure. Follow the descriptions that were given in the previous posts
Now lets start our AR MRTK project.
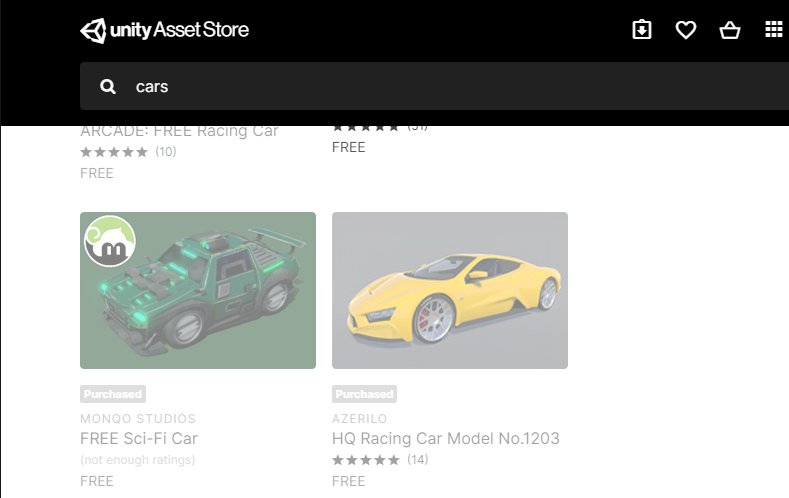
We have taken few free assets from the Unity Asset Store.
In the project window "search" for the DialogMedium_192x128 Prefabs.

Set the Title for the Text;
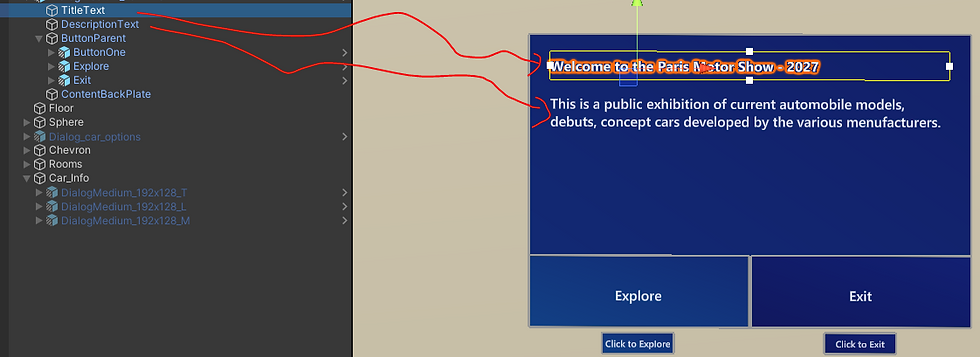
Change the buttons according to our preferences. While selecting the Explorer button, go to Inspector windows, make sure the following things are set.

Similarly set the appropriate configuration for the Exit button. Such as we can set Good Bye.
Let us set an animation to decorate the Motor Show! We have created a sphere and on top of it we have placed a the science fiction car.
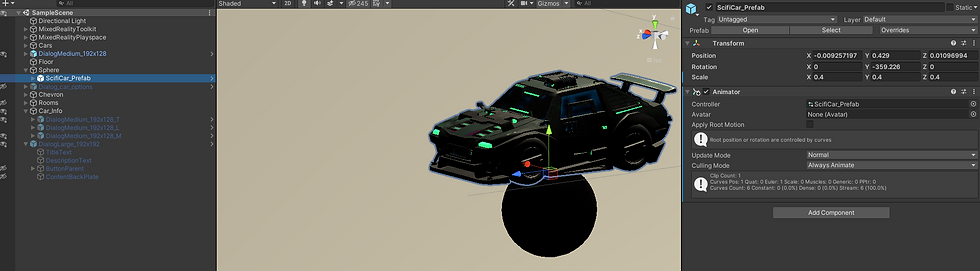
The following screen-shot is the animator screen. We have set the positions and time.

Now in the Welcome screen, if someone click "Explore", lets give them a choice to choose a car preference according to their taste.

Now drag & drop the Chevron prefab in the hierarchy windows. We have duplicated 3 in order to get direction for the different cars, namely, Tesla, Mercedes-Benz & Lamborghini. In the inspector window, use the Add Component button to add the DirectionalIndicator while clicking the Chevron button.
The following is an example to show how it must be done. Similarly track all the car game objects.

The following is the screenshot of the procedure to change the car color.
We can simply drag & drop a PressableRoundButton from a Prefebs. In the Events.OnClick(), just drag & drop the car body. Then go to Meshrenderer---> Material material & get the desired color.

Thats it!! These are basic operations that we need in order to complete this project.
Reference:


Comments